
goodfair.xyz, Jakarta Robots are synonymous with a series of electronics that are assembled with various components. Until finally producing a robot that can be used either just for playing or as a tool for humans.
Yes, a robot is a set of mechanical tools that can carry out physical tasks, either with human supervision and control, or using a pre-defined program.
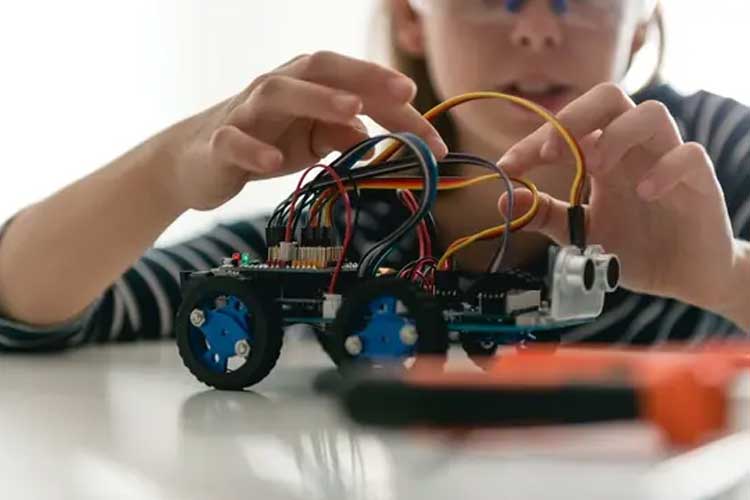
So, to make a sophisticated robot, of course we need sophisticated tools, complicated programs, and of course special skills. This is needed in making robots to produce robots that can move, even think and move like living creatures.
However, for those of you who don’t have sophisticated tools, can’t program, or don’t even have the special skills to make a robot, there’s no need to worry. For those of you who want to try making and playing with robots , you can make it in a fairly simple way and you don’t need to have special skills.
Yes, if you just want to make a robot just to play and have fun, you can use the tools, materials and abilities you have to make a robot . This time, Liputan6.com, Tuesday (19/3/2019) has summarized how to make a simple robot for beginners.
Summarized from various sources, here is a review of how to make a simple robot that you can practice yourself at home. The results are not as good as those with experience or pros, but this simple robot is guaranteed to be no less cool and of course will help hone your creativity. Check out the review.
1. How to Make a Simple Robot with a Toothbrush
Tools and materials:
– Small DC motor for HP vibrator
– Small brush or cut toothbrush
– Button battery, AAA, AAAA or 1.5 V watch battery
– Blutack or cellotape
– Scissors
– Cable (if the motorbike does not have a cable)
How to make a simple robot with a toothbrush:
First time, check the motor. If your motorbike doesn’t have a cable, install the cable in its place. Usually in the form of 2 small metal plates. It is recommended that the cable be soldered so that it is tight, but it can also be taped with blutack or cellotape.
Once the motor has cables, attach the motor brushed with blutack. Don’t forget to position the cable so that it comes out.
After that, attach the battery to the brush using blutack. Arrange so that the cable can reach both poles on the battery.
Connect the motor cable to the battery
If you have attached the battery to the brush, then make sure the cables are connected to the correct poles. The motor and brush will vibrate.
Place the robot on the floor or table. Then your robot can be played.
In this robot, the movement is influenced by the position of the battery, the length and direction of the brush, and so on. You can arrange the robot to move as desired. Sometimes the bristles also need to be cut. You can decorate the robot you made to make it even cooler and cooler.
2. Make a Simple Robot
Required tools and materials:
– Small box
– Small Tupperware box
– 9V battery
– Coins
– Hobby of motorbikes
– Glue gun
How to make a simple robot:
Make a hole in the Tupperware box using a knife. This hole will later function as a motor mount.
You can buy a motorbike that has visible metal parts that can be connected by welding. Ask for a type of motor that can be welded and modified when shopping at a toy store.
Next, connect one cable to the right side of the motor. Make sure the metal end of the cable is connected to the metal on the motor.
Connect the other end of the cable to the left side of the battery. Make sure again that the metal at the end of the cable is attached to the motor.
Attaching metal
Then attach the metal that you have prepared to the motor rod using a glue gun.
Weld the end of the positive (red) cable connected to the motor on the non-momentary type switch. Make sure the metal end of the cable is connected to the metal conductor on the switch.
Use glue to attach the motor to the mounting hole that was made earlier. Also attach any knick-knacks you want to add to your robot.
Use new cables to connect the battery to your robot. Weld the end of the red cable to the positive pole of the battery and the negative cable to the negative pole of the battery.
Connect the ends of the cable
Next you need to connect the end of the positive (red) cable that is connected to the battery to the pin located in the middle of the switch. Make sure the metal tip touches the conducting metal located in the middle of the switch before welding.
This step requires electricity to flow through the switch before it can be used by the motor.
Connect the end of the negative cable (black) connected to the battery with the end of the negative cable connected to the motor. With this, the battery will start flowing electric current into the circuit you created.
Connect the positive and negative leads connected to the battery compartment and motor if you are not using an LED light.
The LED light will be damaged if it is connected directly to the battery. If you want to add an LED light, use a 350ohm resistor on the positive end of the light and connect the positive end of the light to the positive end of the battery.
Use hot glue to attach the Tupperware box to the small cardboard box.